
SSH basics
SSH keys explained
What a key pair is, how to make one in Termphin, and how to put the public half on Linux, macOS or Windows servers.
What is an SSH key pair?
A key pair is two linked files. The private key stays on your device and proves who you are. The public key goes on the server, in the file ~/.ssh/authorized_keys (one key per line). The server lets in anyone who holds a private key matching one of those lines.
Keys are safer than passwords: nothing to guess, nothing sent over the network, and you can remove one device’s key without changing anything else.
Use one key per device. If you lose the phone, delete that line from authorized_keys on each server.
Create a key in Termphin
-
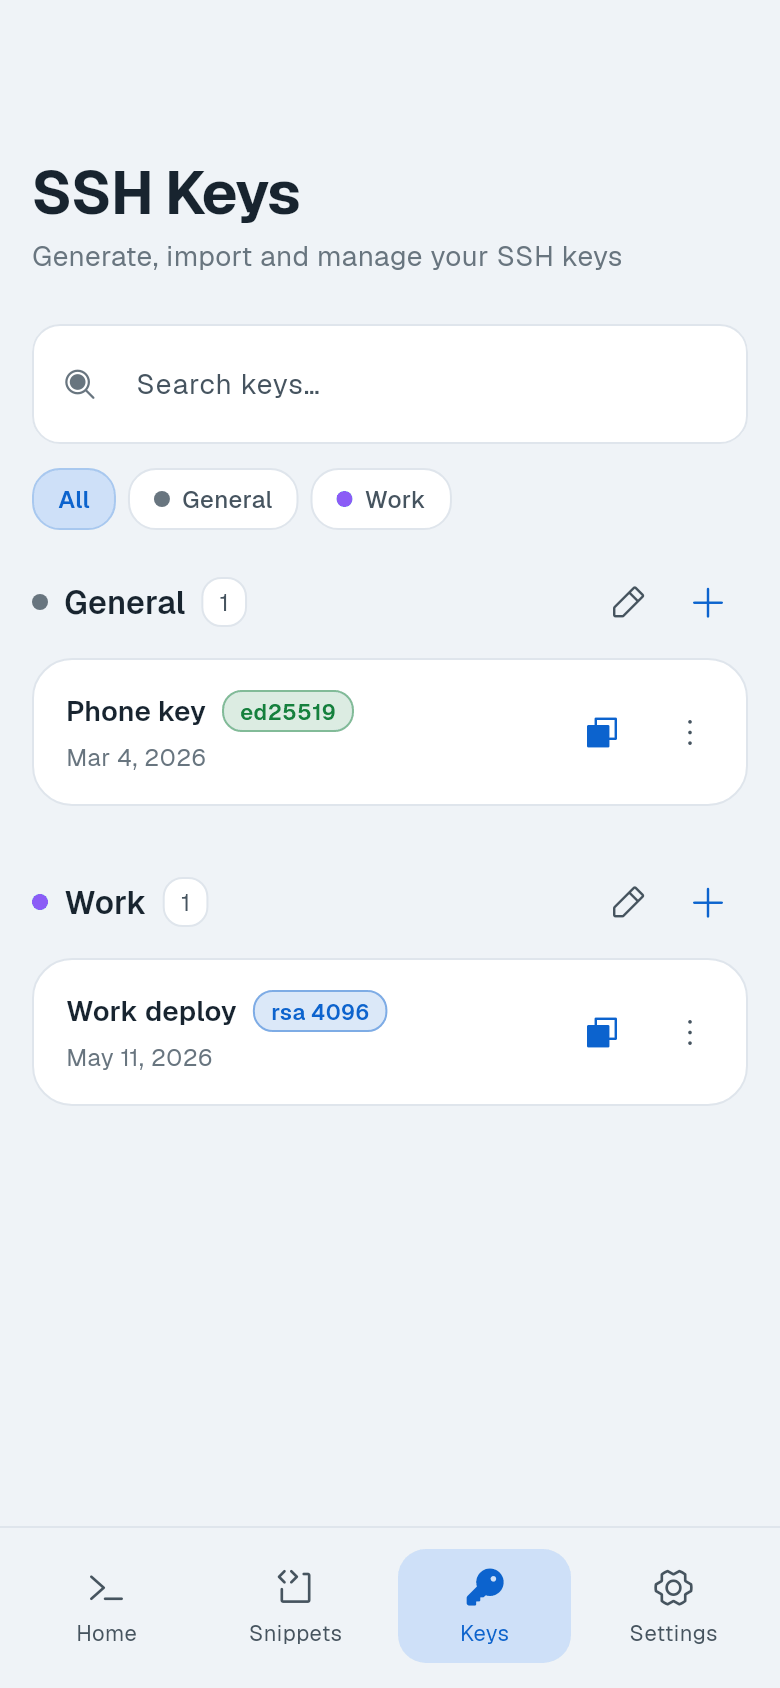
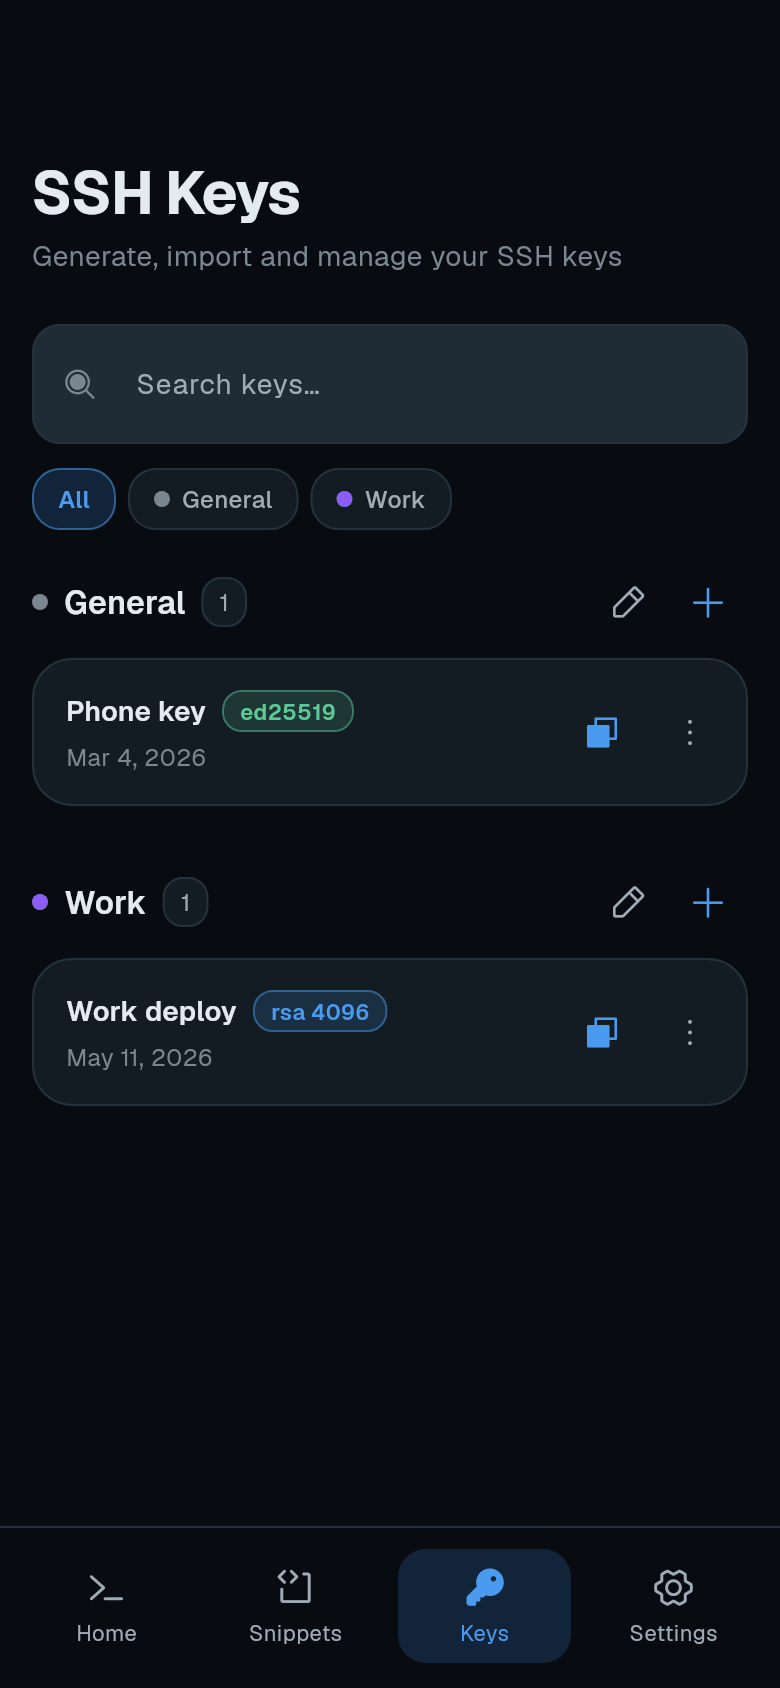
Open the Keys tab. Tap Keys in the bottom bar.
-
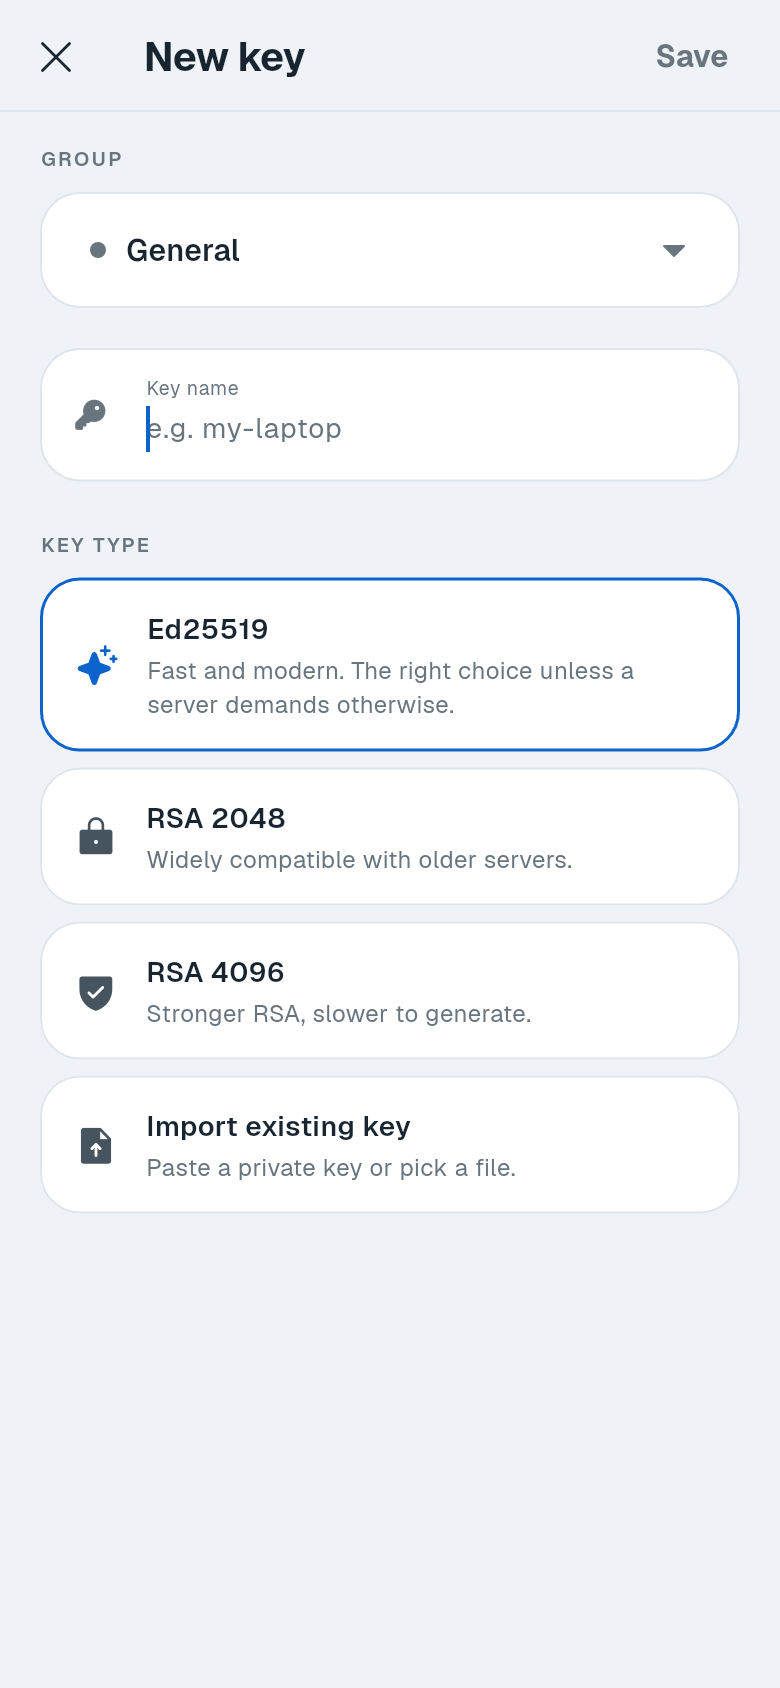
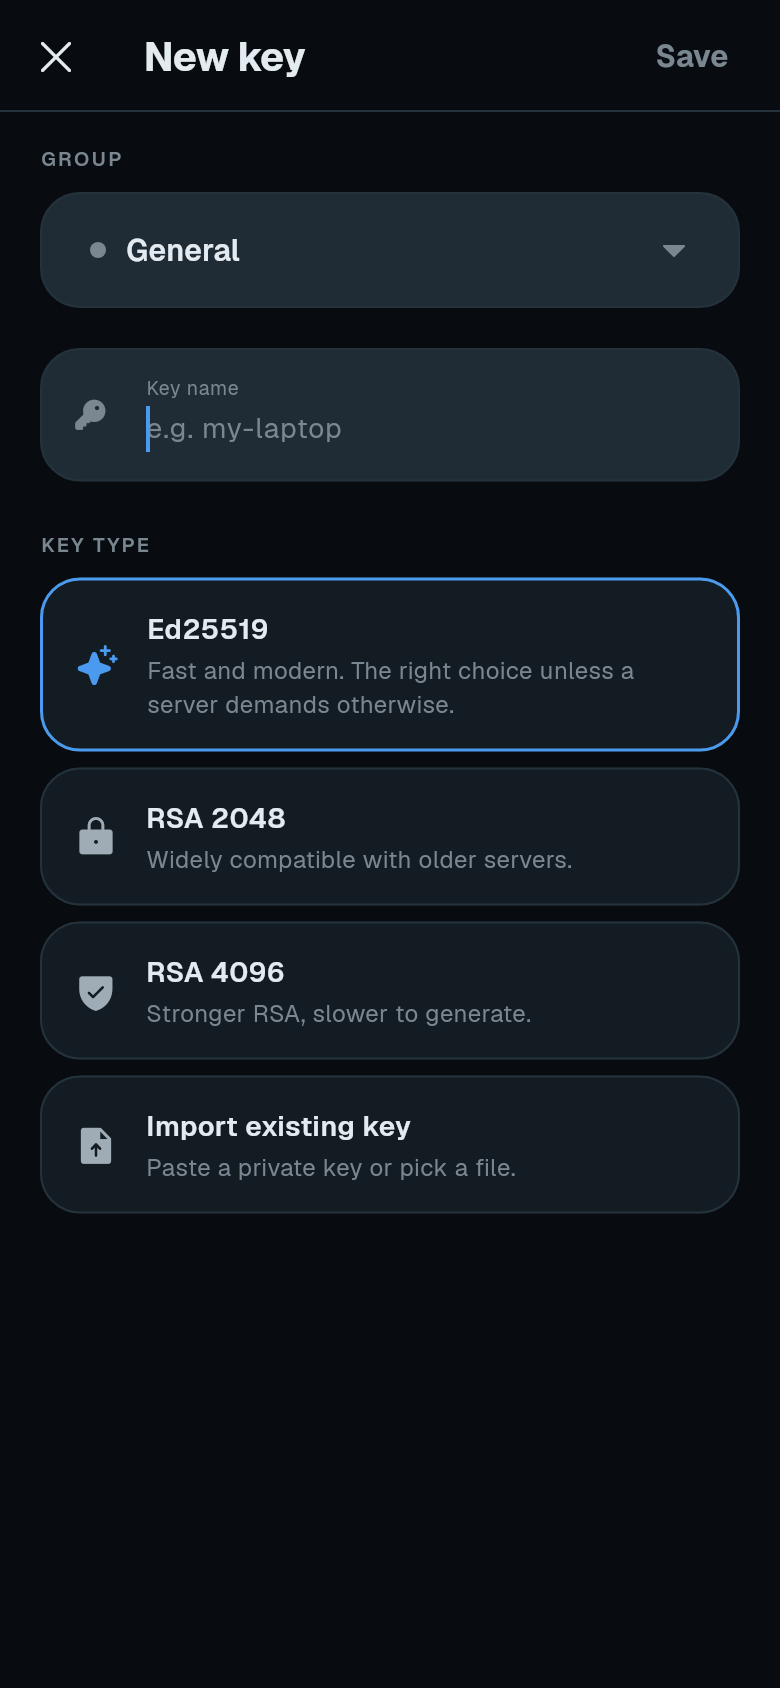
Tap +. The New key screen appears.
-
Fill in the details.
- Group - optional, to organise keys.
- Key name - for example
my-phone. - Key type - choose Ed25519 (recommended: “Fast and modern. The right choice unless a server demands otherwise.”), RSA 2048, RSA 4096, or Import existing key.
-
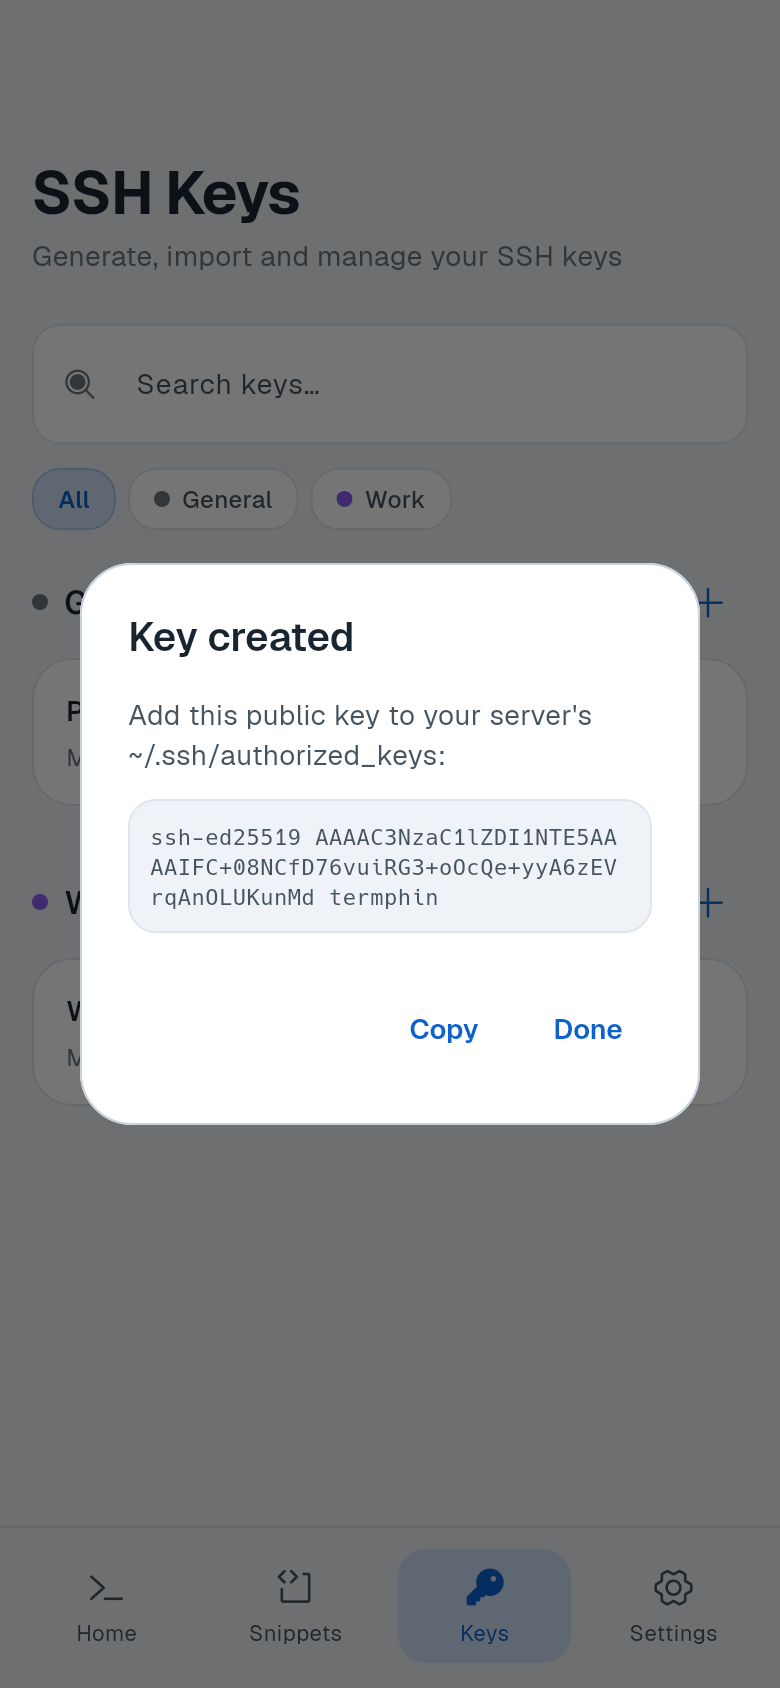
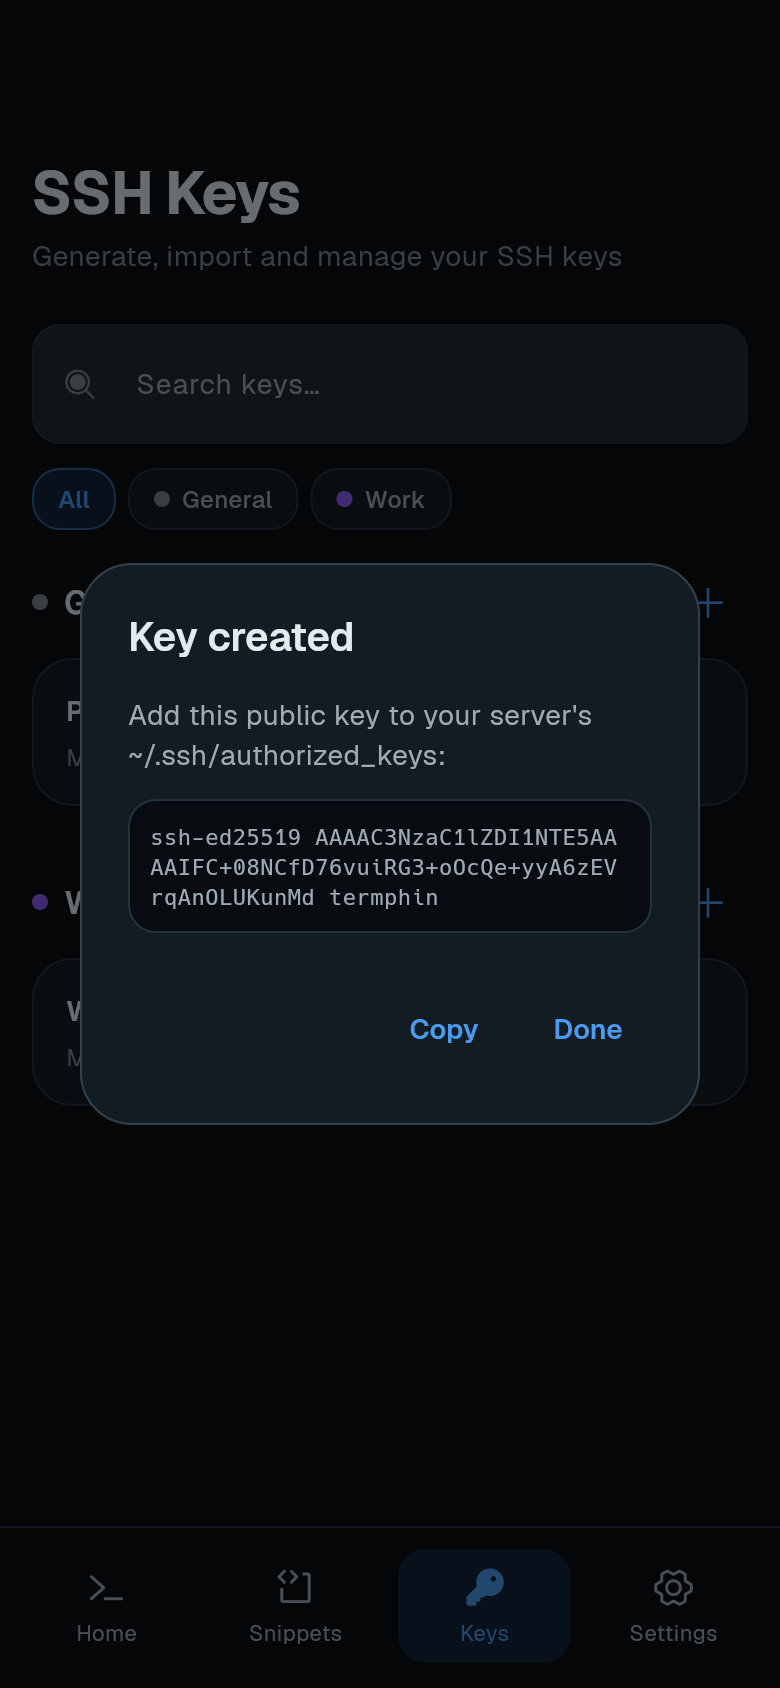
Tap Save. A dialog Key created shows the public key with the instruction “Add this public key to your server’s ~/.ssh/authorized_keys:” and a Copy button.
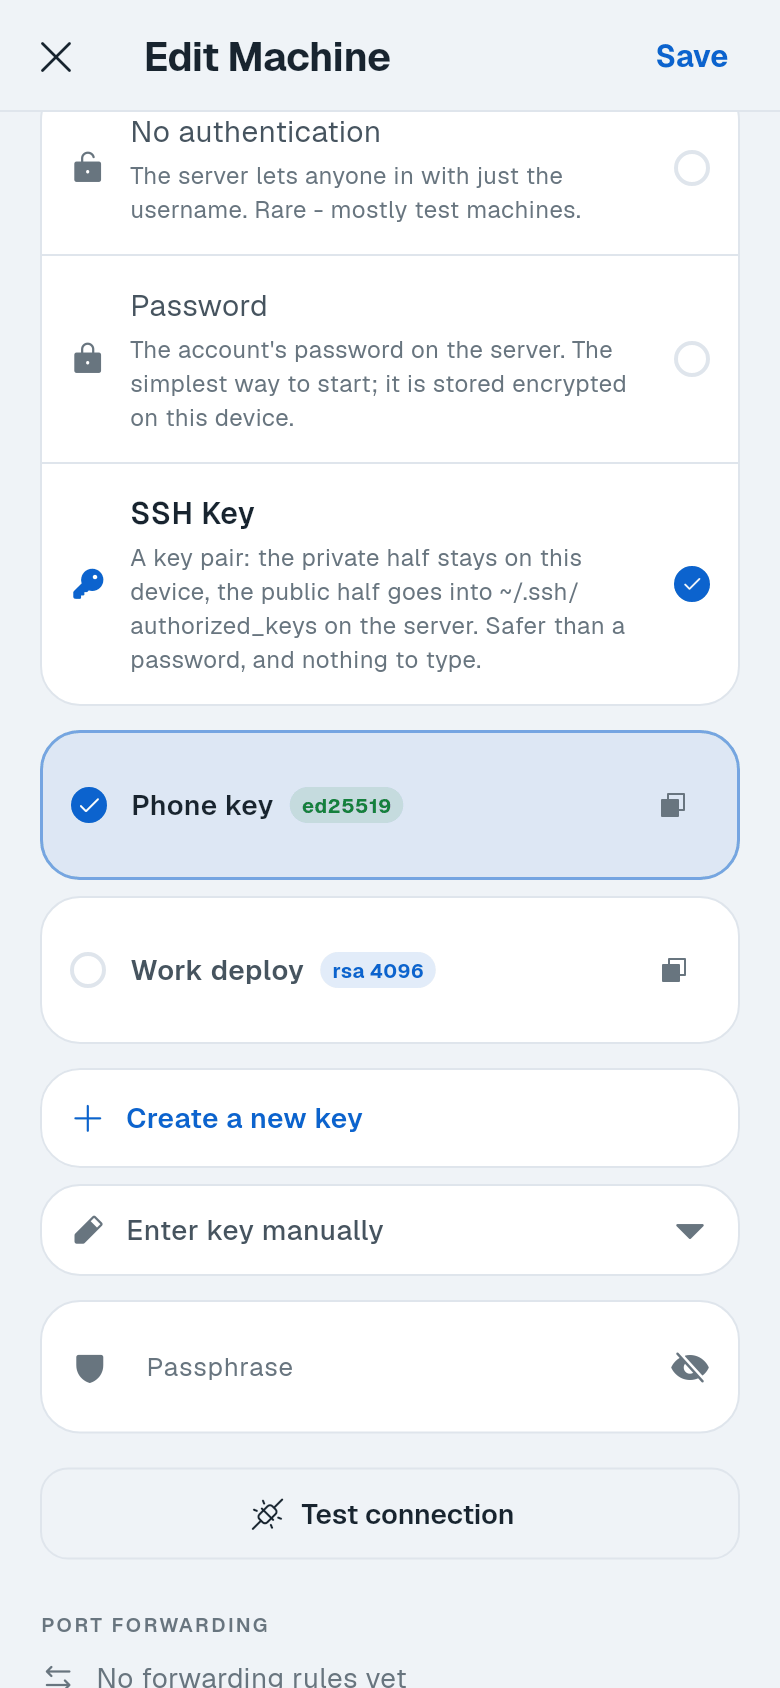
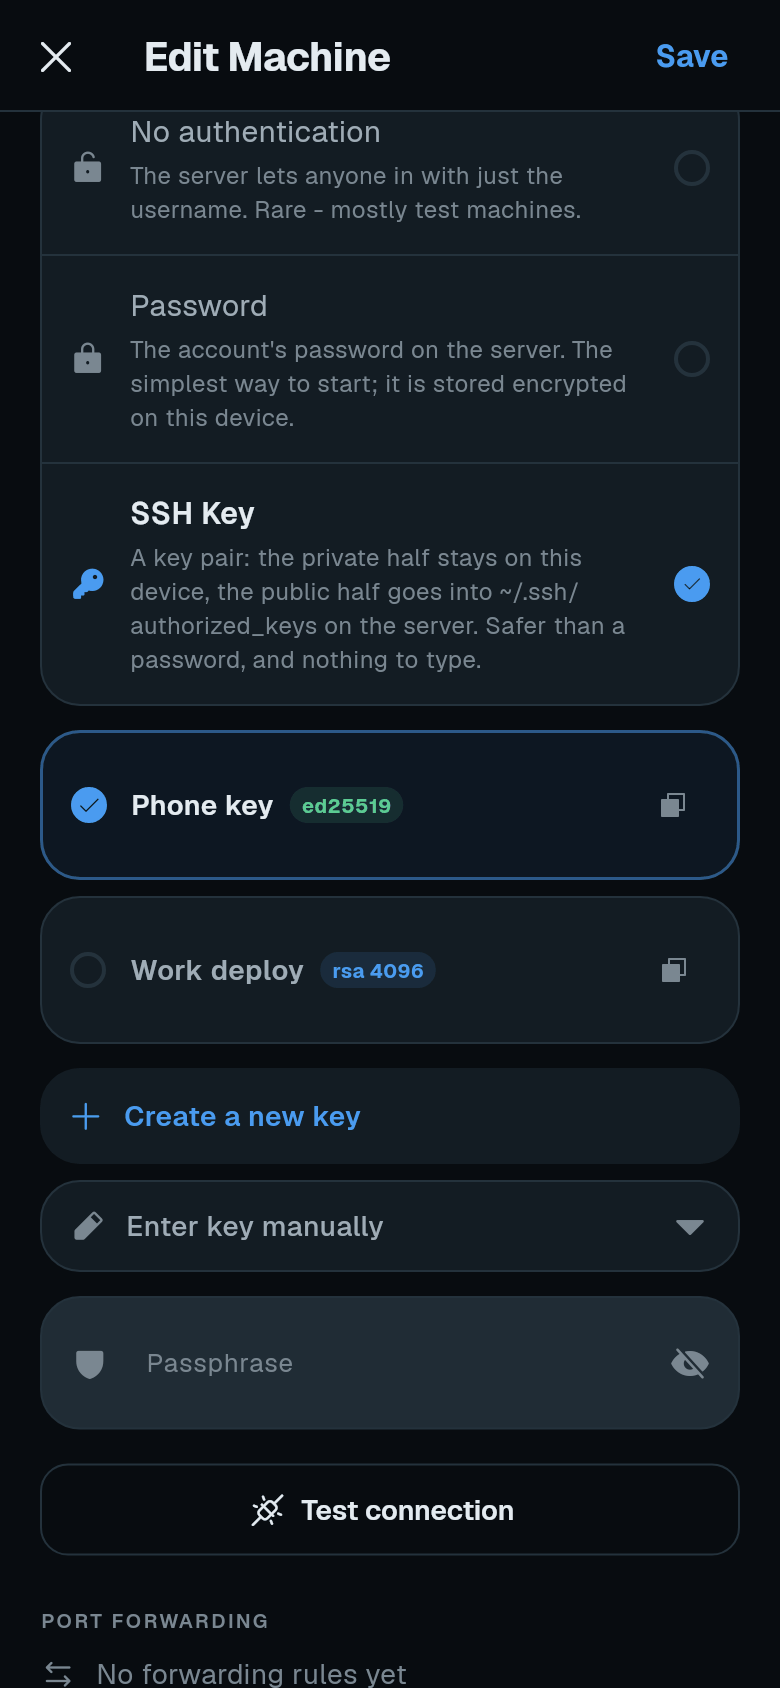
You can also create a key from the machine form: open a machine’s Edit screen, go to Authentication, tap SSH Key, then Create a new key.
Copy the public key
On the Keys tab, tap the copy icon on the key’s row, or open the key’s menu and tap Copy public key. The key starts with ssh-ed25519 or ssh-rsa.
Add the public key to the server
The easiest way is from Termphin itself: first connect with a password, then run one of the commands below in the terminal, pasting your public key between the quotes.
Linux
mkdir -p ~/.ssh && chmod 700 ~/.ssh
echo 'ssh-ed25519 AAAA... my-phone' >> ~/.ssh/authorized_keys
chmod 600 ~/.ssh/authorized_keys
macOS
mkdir -p ~/.ssh && chmod 700 ~/.ssh
echo 'ssh-ed25519 AAAA... my-phone' >> ~/.ssh/authorized_keys
chmod 600 ~/.ssh/authorized_keys
Windows
Normal user - run in PowerShell:
New-Item -Force -ItemType Directory $env:USERPROFILE\.ssh
Add-Content -Path $env:USERPROFILE\.ssh\authorized_keys -Value 'ssh-ed25519 AAAA... my-phone'
User in the Administrators group - OpenSSH ignores the user’s own file and reads C:\ProgramData\ssh\administrators_authorized_keys instead. Run PowerShell as administrator:
Add-Content -Path C:\ProgramData\ssh\administrators_authorized_keys -Value 'ssh-ed25519 AAAA... my-phone'
icacls.exe "C:\ProgramData\ssh\administrators_authorized_keys" /inheritance:r /grant "Administrators:F" /grant "SYSTEM:F"If you already have SSH access from a computer, you can use ssh-copy-id with a file of the public key.
Switch the machine to the key
-
Edit the machine. On Your machines, tap the machine card’s three-dot menu and choose Edit.
-
Set Authentication. Go to Authentication, tap SSH Key, and pick the key you created.
-
Save. Tap Save.
-
Test the connection. Tap Test connection to confirm the key works.
Fixing permission problems
If the server says “The server did not accept this key. Check the username, and that the key is authorised on the server.”:
- Check the username in the machine settings.
- Make sure the whole public key is on one line in
authorized_keys. - Permissions on the server:
~/.sshmust be700and owned by the user.authorized_keysmust be600and owned by the user.- The home folder must not be writable by others.
- On Windows for Administrators, the file
C:\ProgramData\ssh\administrators_authorized_keysmust have the correct icacls permissions (as shown above).
Check server logs:
- Linux:
journalctl -u ssh(Debian/Ubuntu) or-u sshd. - Windows: Event Viewer, Applications and Services Logs, OpenSSH.
Use a key you already have
- Open the Keys tab. Tap Keys in the bottom bar.
- Tap + and choose Import existing key (“Paste a private key or pick a file.”).
- Add the key. Tap Choose key file, or paste the private key into Private key (PEM).
- Enter the passphrase if asked. An encrypted key needs its passphrase to be read. Termphin uses it only to read the key - it does not store it. You will need to enter the passphrase again on the machine that uses this key (in the Passphrase field).
The private key is stored encrypted on your device and never leaves it.